Easy Guide: Installing Node.js on Linux
Node.js stands as a formidable and widely embraced runtime environment, enabling the execution of JavaScript code within the server domain. Renowned for its proficiency, it finds extensive application in the construction of web applications that prioritize scalability and performance, thus cementing its status as an indispensable instrument within the toolkit of web developers. In the forthcoming guide, we shall meticulously elucidate the steps required for installing Node.js onto a Linux-based operating system.
How to Install node.js on Linux: Getting Started With Essential Preparations
Embarking on the journey of setting up or managing a Linux environment requires a foundational setup to ensure a smooth and efficient experience. Below is a comprehensive guide on the essential preparations needed to dive into the Linux world, designed to empower users with the knowledge and tools for a successful setup.
Choosing the Right Linux Distribution
Selecting an appropriate Linux distribution (distro) is the first step towards customizing your computing experience. Each distro offers unique features, user interfaces, and levels of support. Popular choices include:
- Ubuntu: Known for its user-friendly interface and robust community support, making it an ideal choice for beginners;
- CentOS: Offers long-term support and stability, preferred for servers and professional environments;
- Debian: Celebrated for its stability and versatility, serving well both desktop users and server environments.
When selecting a distro, consider your level of experience, the primary use case (desktop, server, development, etc.), and the type of community support available.
Securing Necessary Access Rights
To effectively manage a Linux system, having the appropriate user permissions is crucial. Ensure you have:
- A user account with sudo privileges: This allows you to perform tasks that require administrative permissions without logging in as the root user. Operating with sudo helps mitigate the risk of accidental system-wide changes;
- Access to the root account: Sometimes, direct access to the root account may be necessary for deep system modifications. However, it’s recommended to use this power sparingly and with caution to prevent unintentional system damage.
How to Install node.js on Linux: Tips and Recommendations
- Familiarize with the Command Line: The terminal is a powerful tool in Linux. Learning basic commands can greatly enhance your ability to navigate and manage your system efficiently;
- Utilize Online Forums and Communities: No matter your chosen distro, there’s a community out there ready to help. Engaging with forums can provide valuable insights, solutions to common issues, and recommendations for optimizing your setup;
- Keep Your System Updated: Regular updates are vital for security and performance. Learn how to check for and apply updates in your distro to keep your system running smoothly.
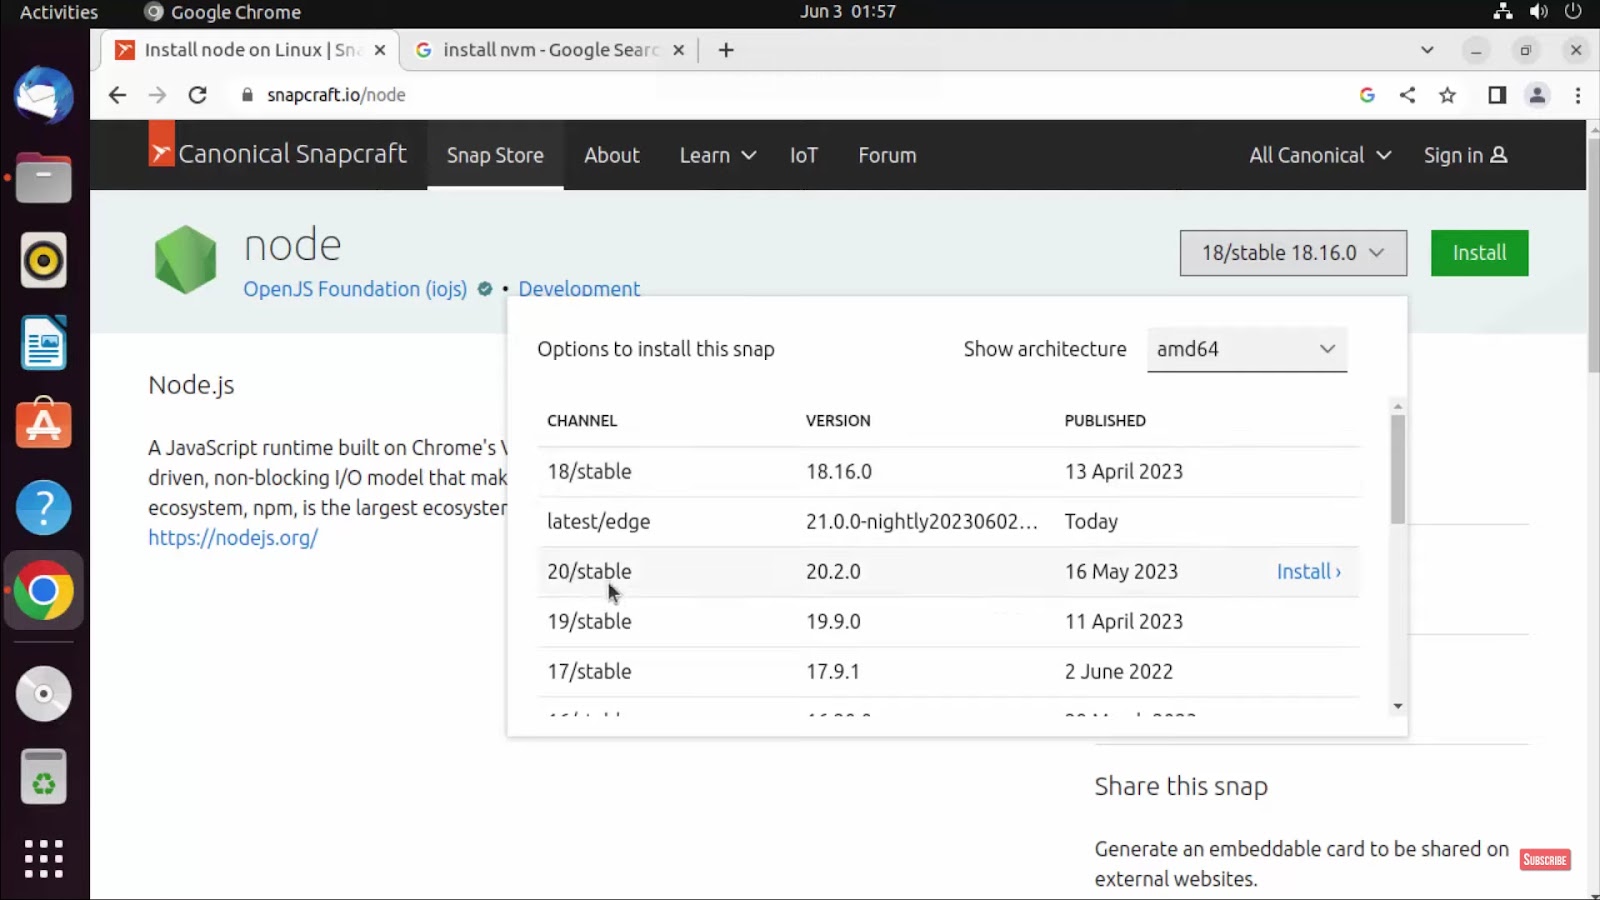
How to Install node.js on Linux Using Package Manager
When it comes to installing Node.js on a Linux system, the smoothest and most recommended approach is through your distribution’s package manager. Not only does this streamline the process, but it also ensures that Node.js and npm (Node Package Manager) are kept up-to-date effortlessly. In this comprehensive guide, we’ll walk you through the installation process for some of the most commonly used Linux distributions, providing you with step-by-step instructions and additional insights.
1. Ubuntu/Debian
For those running Ubuntu-based distributions like Ubuntu itself or Debian, you’re in luck. Follow these commands to swiftly get Node.js and npm up and running:
# Update the package manager

sudo apt update

# Install Node.js and npm

sudo apt install nodejs npm
Pro Tip: Ensure that your package manager’s repository information is up to date to avoid any hiccups during installation.
2. CentOS
If your Linux flavor leans towards CentOS-based distributions, including CentOS and Red Hat Enterprise Linux (RHEL), fret not. Here’s how you can seamlessly install Node.js:
# Enable the EPEL repository (Extra Packages for Enterprise Linux)

sudo yum install epel-release

# Install Node.js and npm

sudo yum install nodejs
Pro Tip: Enabling the EPEL repository is essential for a smooth Node.js installation on CentOS-based systems.
3. Arch Linux
Arch Linux users, rejoice! You can harness the power of the pacman package manager to quickly get Node.js on your system. Here’s how:
# Update the package database

sudo pacman -Sy

# Install Node.js and npm

sudo pacman -S nodejs npm
Pro Tip: Arch Linux users are no strangers to the simplicity of package management. Keep your system updated regularly for the best experience.
4. Other Distributions
For those adventurous souls exploring other Linux distributions, rest assured that Node.js may still be within reach. Here’s what you should do:
- Check your distribution’s package repositories: Run a quick search to see if Node.js is available through your distribution’s package manager;
- Utilize the package manager specific to your distribution: Depending on your Linux flavor, employ the relevant package manager (e.g., yum, apt, pacman);
- Always update your package manager’s repository information: This is a golden rule to ensure you have access to the latest packages and dependencies.
Pro Tip: Community forums and official documentation for your chosen Linux distribution can be invaluable resources when installing Node.js on less common systems. Read about how to install Discord on Linux effortlessly and join the Discord community seamlessly. Discover the power of Linux today!
How to Confirm a Successful Node.js and npm Installation on Linux?
Once you’ve completed the installation process, it’s essential to ensure that Node.js and npm have been installed correctly on your system. This verification step will help you avoid potential issues when working on your projects. Here’s a comprehensive guide on how to confirm your installation:
1. Checking Node.js Version
To check the Node.js version, open your terminal and execute the following command:
node -v
This will display the installed Node.js version, such as “v14.17.3,” in your terminal. If you see the version number, congratulations, Node.js is installed!
2. Verifying npm Version
Similarly, you can check the npm (Node Package Manager) version with this command:
npm -v
You will see the npm version, like “6.14.13,” printed in your terminal if npm is correctly installed.
Why Verification Matters
Verifying your installation serves several essential purposes:
- Ensures that you have the necessary tools to run JavaScript applications;
- Guarantees that your Node.js and npm installations are functional and up-to-date;
- Helps you avoid compatibility issues when working with different packages and libraries.
Tips for a Successful Verification
If you encounter any issues during verification, here are some tips to troubleshoot:
- Update Node.js and npm: Ensure you’re using the latest versions. You can update Node.js using the official installer, and npm can be updated using the command npm install -g npm;
- Path Configuration: Check if Node.js and npm paths are correctly added to your system’s environment variables. Reinstalling with the proper paths can resolve issues;
- Permissions: On some systems, you might need administrative privileges to install packages globally. Use sudo (for Unix-based systems) or run your terminal as an administrator (for Windows);
- Proxy or Firewall Issues: If you’re behind a corporate firewall, configure your proxy settings to allow Node.js and npm to access the internet;
- Anti-virus Software: Occasionally, anti-virus software may block Node.js and npm installation. Temporarily disabling it during installation can be a solution;
- Alternative Installation Methods: Consider using a version manager like nvm (Node Version Manager) for Node.js and nvm or pnpm as alternatives to npm. They can help manage multiple Node.js versions and avoid potential conflicts.
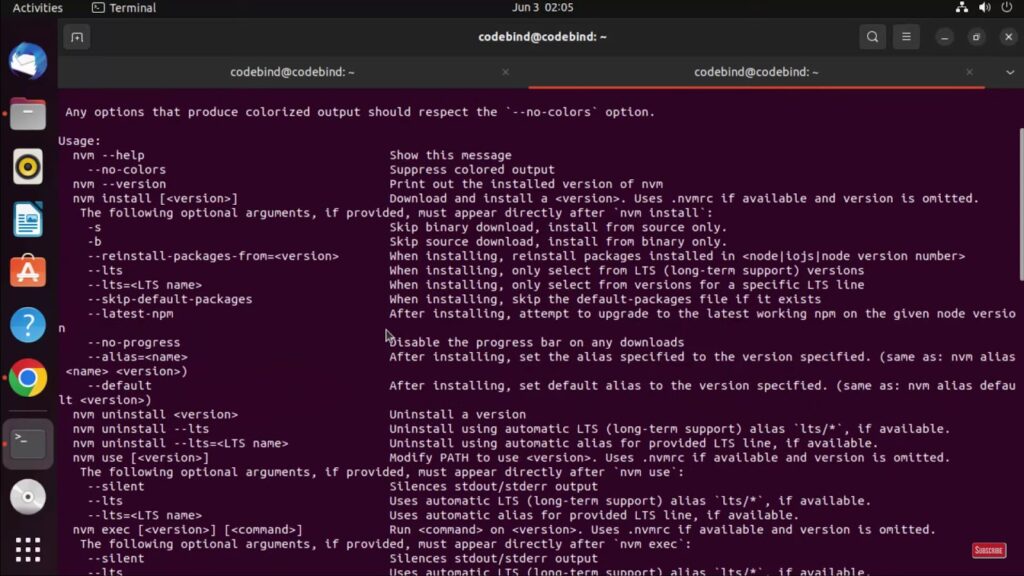
How to Install node.js on Linux Using Node Version Manager (Nvm)?
Node.js, a powerhouse for JavaScript developers, finds a versatile and accommodating home on Linux through Node Version Manager, or nvm for short. This tool enables you to seamlessly manage and switch between various Node.js versions, ensuring flexibility in your development environment. Dive into the world of Node.js installation with nvm as we guide you through the process.
1. Installation of nvm
Begin your journey by installing nvm, the gateway to Node.js version control. Fire up your terminal and execute these steps:
- Download and Install nvm;
- Use the following commands to download and install nvm:
curl -o- https://raw.githubusercontent.com/nvm-sh/nvm/v0.39.1/install.sh | bash- Loading nvm into Your Shell Session;
- Once installed, make sure nvm integrates with your shell. If you’re using the Bash shell, you can execute:
source ~/.bashrcFor other shells like Zsh, consider updating the respective configuration file (e.g., ~/.zshrc).
2. Installing Node.js via nvm
Now that nvm is firmly in place, you can harness its power to fetch and manage Node.js versions. To get started with the latest Long Term Support (LTS) version of Node.js, execute:
nvm install --ltsPro Tip: You’re not limited to the LTS version; nvm empowers you to install specific Node.js versions. Simply replace –lts with your preferred version number, such as 14.17.3.
3. Setting a Default Node.js Version
To streamline your development workflow, setting a default Node.js version is a clever move. Use the following command to establish your preferred version as the default:
nvm alias default <version>Replace <version> with the Node.js version you wish to designate as the default.
Top Reasons to Use Node Version Manager (nvm):
- Version Control: Manage multiple Node.js versions with ease;
- Seamless Updates: Keep Node.js up-to-date effortlessly;
- Flexible Environment: Install specific versions for compatibility;
- Smooth Switching: Switch between Node.js versions effortlessly;
- Global and Local Configuration: Configure Node.js versions globally or on a per-project basis;
- Community-Driven: Benefit from an active community ensuring nvm’s continuous improvement.