Installing Anaconda on Linux Made Easy
Anaconda stands as a robust and widely embraced platform catering to the realms of data science and machine learning. This versatile platform furnishes an extensive array of tools and libraries, streamlining the management and dissemination of packages, environments, and dependencies with unparalleled ease.
The installation of Anaconda on a Linux-based system unfolds as a straightforward endeavor, granting you the ability to establish a dedicated environment tailored to your data science endeavors. This article endeavors to guide you through the seamless process of installing Anaconda on your Linux system, ensuring a smooth transition into the realm of data-driven exploration and innovation.
How to Install Anaconda on Linux: What Are the Essential Preparations?
Embarking on the installation journey requires a foundation built on specific critical elements. Here’s a comprehensive guide to ensure you’re fully prepared:
Selecting a Linux Distribution
Choosing the right Linux distribution is akin to selecting the perfect ingredients for a gourmet meal. Each distribution, whether it’s Ubuntu, CentOS, Fedora, or another, offers a unique flavor and set of features tailored to different tastes and requirements. Consider the following when making your choice:
- Compatibility: Ensure the distribution aligns with your hardware and software requirements;
- Community Support: Popular distributions like Ubuntu have vast communities for troubleshooting and advice;
- Use Case: Whether it’s for a personal project, development, or server deployment, your distribution choice may vary.
Administrative Access
Having the keys to the kingdom, in this case, means possessing administrative privileges or the ability to wield the power of sudo. This access is crucial for:
- Installing Software: You’ll need to install, update, or remove software packages;
- System Configuration: Tweaking system settings to optimize performance or security;
- Troubleshooting: Diagnosing and resolving system issues often requires root access.
Tips for Managing Administrative Access:
- Use sudo Wisely: It grants powerful access, so ensure commands are correct and necessary;
- Secure Your Account: Use strong passwords and consider two-factor authentication for enhanced security.
Internet Connection
A stable internet connection is the lifeline for downloading the Anaconda installer, among other resources. Here’s why it matters:
- Access to Latest Versions: Download the most current Anaconda installer to benefit from the latest features and security updates;
- Dependency Resolution: Some installations may require downloading additional packages or dependencies;
- Documentation and Support: Online resources are invaluable for troubleshooting and guidance during the installation process.
Ensuring a Robust Internet Connection:
- Wired vs. Wireless: A wired connection can be more stable and reliable for large downloads;
- Speed: Ensure your connection speed is sufficient to download the necessary files without excessive waiting times;
- Backup Plan: Consider having an alternate internet source in case of connectivity issues.
Step 1: Obtain Anaconda for Linux
Embarking on your journey to harness the power of Anaconda for Linux? Great! Let’s get started on the right foot. Here’s how to kick things off:
Visit the Anaconda Website
Begin by navigating to the official Anaconda website at https://www.anaconda.com/products/distribution. Once you arrive, you’ll find yourself at the doorstep of Anaconda’s treasure trove. Now, you have two exciting options to choose from:
- Anaconda Individual Edition (Open-Source): Perfect for most users, this edition offers a robust set of tools and libraries for data science and machine learning enthusiasts;
- Anaconda Commercial Edition (Enterprise): Tailored for businesses and enterprises, this edition provides additional features and support tailored to corporate needs.
Opt for the Anaconda Individual Edition
For the majority of users, the Anaconda Individual Edition will be more than adequate to fuel your data-driven adventures. To acquire it, simply click on the enticing “Download” button next to the Individual Edition. Also, discover the seamless way to install Node.js on Linux effortlessly. Master the process with our step-by-step guide today!
Select Your Linux Version and Download the Installer Script
Your Linux experience begins with a thoughtful choice of the 64-bit version. Ensure you select the version compatible with your system architecture. Once chosen, download the installer script, which is typically a bash script with the .sh extension, for the latest Anaconda version.
Pro Tip: Before proceeding, double-check your system architecture to ensure compatibility. You can usually find this information in your system settings or by running uname -m in the terminal.
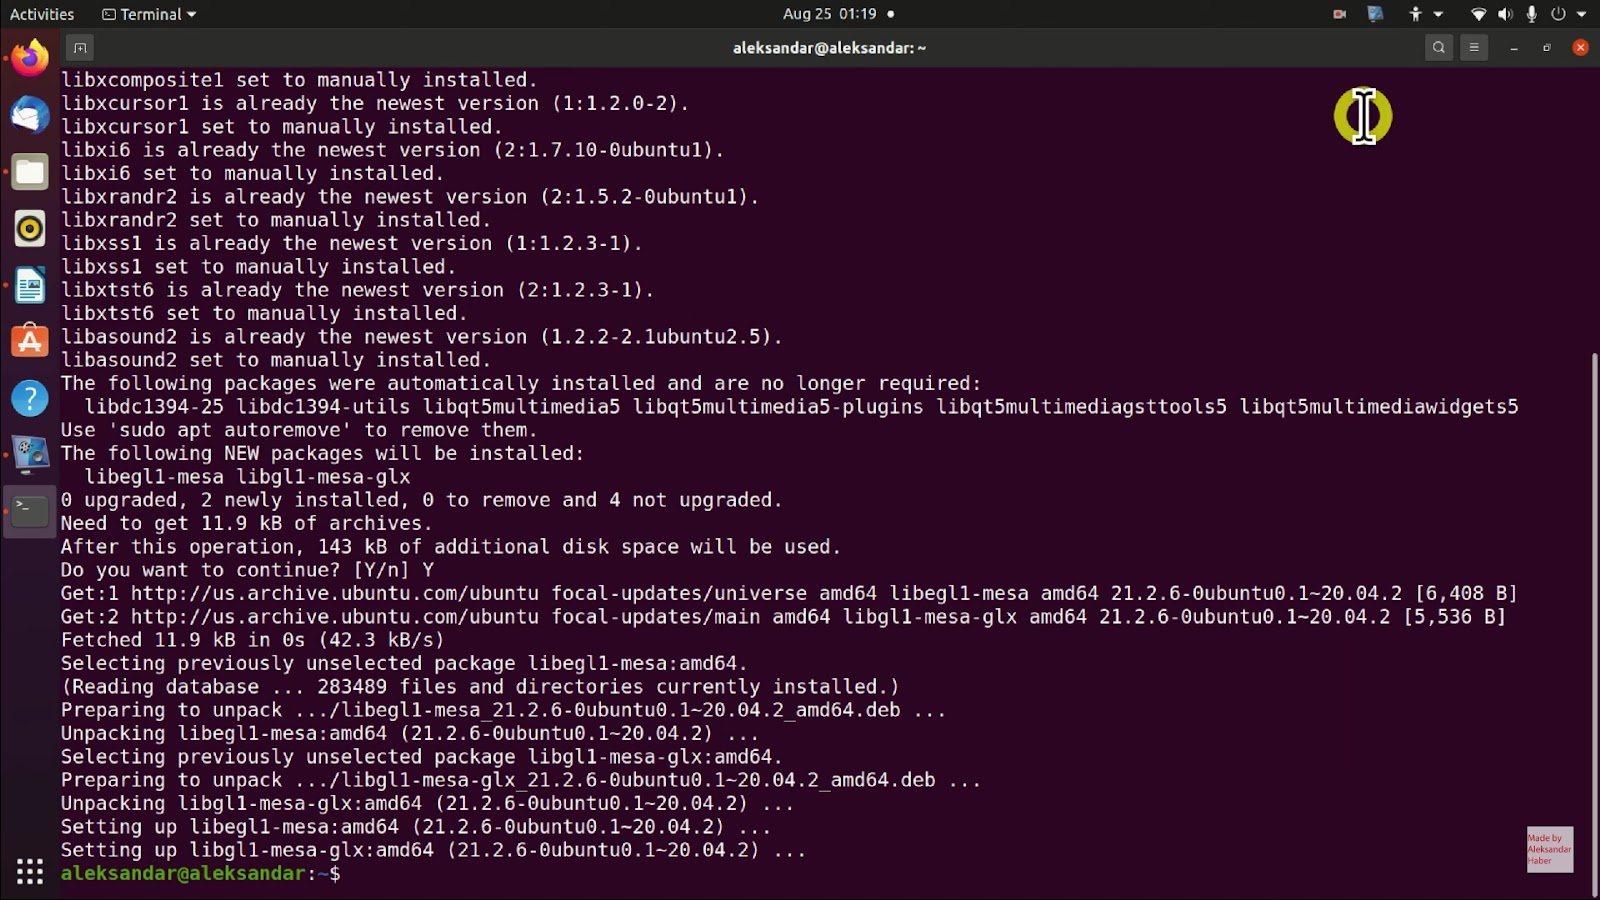
Step 2: Unveiling the Terminal
Now that you’ve secured the Anaconda installer script, it’s time to unveil the command-line wizardry. Follow these steps to open a terminal on your Linux system:
- Keyboard Shortcut Magic: The fastest route to your terminal is through a keyboard shortcut. Simply press Ctrl+Alt+T, and voilà! The terminal window will gracefully appear;
- Search Your Application Menu: If keyboard shortcuts aren’t your cup of tea, navigate to your application menu and search for “Terminal.” A few clicks, and you’re ready to roll.
Step 3: Navigating to the Installer’s Domain
With your terminal window open and ready to accept your commands, let’s navigate to the directory where the Anaconda installer script awaits. Follow these instructions to get there:
Use the ‘cd’ Command
The ‘cd’ command (short for “change directory”) will be your trusty guide. Here’s how to employ it:
cd ~/DownloadsMake sure to replace ~/Downloads with the actual path to the directory where you downloaded the Anaconda installer script if it’s stored elsewhere. This command sets your working directory to the location of the installer, ensuring a smooth installation process.
Pro Tip: You can quickly confirm your current directory with the pwd (print working directory) command, and you can list the files in your directory with ls (list) to double-check the presence of your installer script.
Step 4: Running the Installer Script
Now that you have successfully downloaded Anaconda, it’s time to execute the installer script to get Anaconda up and running on your Linux system. Follow these comprehensive steps to make the installation process seamless:
- Open your terminal: Launch your terminal application. You can usually find it in the applications menu or by pressing Ctrl + Alt + T on your keyboard;
- Navigate to the directory: Use the cd command to navigate to the directory where you downloaded the Anaconda installer. For example, if it’s in your Downloads folder, you can use the following command:
cd ~/DownloadsRun the installer script: Now, execute the Anaconda installer script by entering the following command, replacing <version> with the actual version number you downloaded:
bash Anaconda3-<version>-Linux-x86_64.shThis command will initiate the installation process.
Agree to the license: The installer will display the Anaconda license agreement. Carefully read through the license text to understand the terms. If you agree to the terms, type “yes” and press Enter. If you do not agree, you can exit the installation by typing “no.”
Pro Tip: Take a moment to review the license agreement to ensure you are comfortable with its terms. This is an essential step in the installation process.
Step 5: Choosing the Installation Location
Now that you’ve accepted the license agreement, you’ll be prompted to choose the installation location. Customizing this location can be useful, especially if you have specific preferences or limited disk space. Here’s how you can specify the installation directory:
- Default location: The default installation location is usually ~/anaconda3, which means Anaconda will be installed in your home directory. This is a convenient option if you have ample free space in your home directory;
- Custom location: If you prefer to install Anaconda in a different directory, you can specify a custom path. To do this, simply type the desired directory path and press Enter.
For example, if you want to install Anaconda in your /opt directory, you can enter:
/opt/anaconda3Confirmation: After selecting your preferred installation location, press Enter to confirm your choice.
Important Considerations:
- Ensure you have sufficient free space in the chosen directory to accommodate Anaconda;
- Be cautious when choosing custom locations in system directories (/usr, /bin, etc.) as they may require administrative privileges.
Step 6: Initializing Anaconda – A Key to Seamless Operations
After successfully completing the installation of Anaconda, the next crucial step is initializing it. This step is essential as it allows you to seamlessly integrate Anaconda into your system, making it readily available for your data science and Python development needs. Here’s how to do it:
- Launch Your Terminal: Open your terminal application; it can be the Command Prompt on Windows, Terminal on macOS, or any terminal emulator on Linux;
- Initialize Anaconda: Once the terminal is up and running, you’ll be prompted to initialize Anaconda. Simply type “yes” and hit Enter. This action will add Anaconda to your system’s PATH, which is like giving it a VIP pass to your system’s resources. By doing so, you’ll be able to run Anaconda commands from any directory without specifying the full path, significantly streamlining your workflow.
Success! You’ve now successfully initialized Anaconda, and it’s ready to serve your data science and Python programming needs.
Step 7: Activating Anaconda – Open the Door to a World of Environments
Now that Anaconda is installed and initialized, it’s time to activate it. Activation is the process of accessing the Anaconda environment, where you can create isolated environments for different projects, each with its own set of packages and dependencies. Here’s how you can do it:
Activating Anaconda: In your terminal, execute the following command:
source ~/.bashrcThis command tells your system to activate Anaconda, enabling you to use its powerful capabilities.
Alternatively, you can opt for a quick restart of your terminal. Simply close and reopen it. This will automatically apply the changes and activate Anaconda without the need for any additional commands.
Step 8: Verifying Anaconda Installation – Ensuring a Solid Foundation
Now that Anaconda is up and running, it’s essential to verify that the installation process was successful. This step ensures that you have a stable foundation for your data science and Python development endeavors. To confirm the installation, follow these steps:
- Open Your Terminal: Launch your terminal application as before;
- Run the Verification Command: To check the Anaconda version and confirm the successful installation, execute the following command:
conda --versionThis command will display the version of Anaconda you installed, indicating that it’s properly set up on your system.