A Comprehensive Guide to Installing npm on Linux
Installing npm, the Node Package Manager, is crucial for developers handling Node.js applications on Linux systems. It facilitates the installation and management of packages, and also the distribution of code globally. This guide outlines the process, exploring different methods to streamline the setup.
While learning how to install npm on Linux is essential for web development, it can also be useful when setting up a virtual environment like VirtualBox, which we will explore in our article on how to install Linux on VirtualBox.
Understanding npm and Its Importance
- To fully grasp the significance of npm within the context of JavaScript and Node.js ecosystems, it’s paramount to first familiarize oneself with its nature and critical role;
- npm stands for Node Package Manager and serves as the most expansive repository of software in the world, boasting a collection of more than 800,000 packages;
- These packages encompass a wide array of functionalities, from basic helper tools to elaborate frameworks that cater to various aspects of software development.
By leveraging npm, developers are empowered to seamlessly integrate these packages into their projects, which not only accelerates the development timeline but also promotes the practice of code sharing and reuse. This capability is especially beneficial in the modern development landscape, where efficiency and modular design are highly valued. Through npm, the complexities of adding new features or functionalities are significantly reduced, enabling developers to focus more on innovation and less on reinventing the wheel. This makes npm an indispensable tool for those working within the JavaScript and Node.js domains, as it provides a robust platform for managing dependencies and ensuring that projects remain scalable and maintainable over time.
Preparing Your Linux System
To ensure a smooth installation of npm on your Linux system, it’s essential to start by verifying that your system is up-to-date. This crucial step can be easily accomplished by executing the update and upgrade commands through your system’s package manager. If you happen to be using a Debian-based distribution such as Ubuntu, follow these commands:
sudo apt update

sudo apt upgrade
Alternatively, if your Linux distribution belongs to the Red Hat family, like Fedora, you can achieve the same goal using the following command:
sudo dnf update
By executing these commands, you’re taking a proactive approach to keep your Linux system in excellent condition, ensuring that all software components are current. This proactive maintenance helps minimize potential compatibility issues down the line.
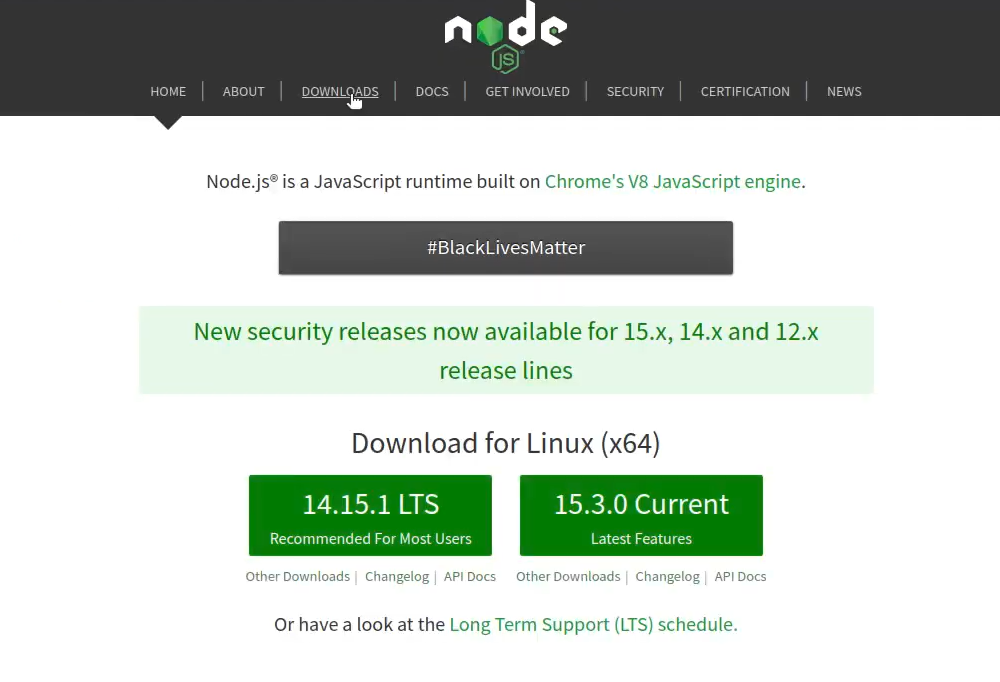
Installing Node.js (npm Included)
When you install Node.js, npm is automatically included, as it is bundled with Node.js. Multiple methods exist to set up Node.js and npm, catering to various requirements and preferences.
Method 1: Installing Node.js and npm Using the Package Manager
npm, the Node.js package manager, is bundled with Node.js, ensuring that its installation automatically provides npm on your system. There are several methods to suit different needs and preferences for setting up Node.js and npm.
For Debian-based distributions:
sudo apt install nodejs npmFor Red Hat-based distributions:
sudo dnf install nodejsThis method is straightforward but may not always provide the latest version of Node.js and npm.
Method 2: Using NodeSource
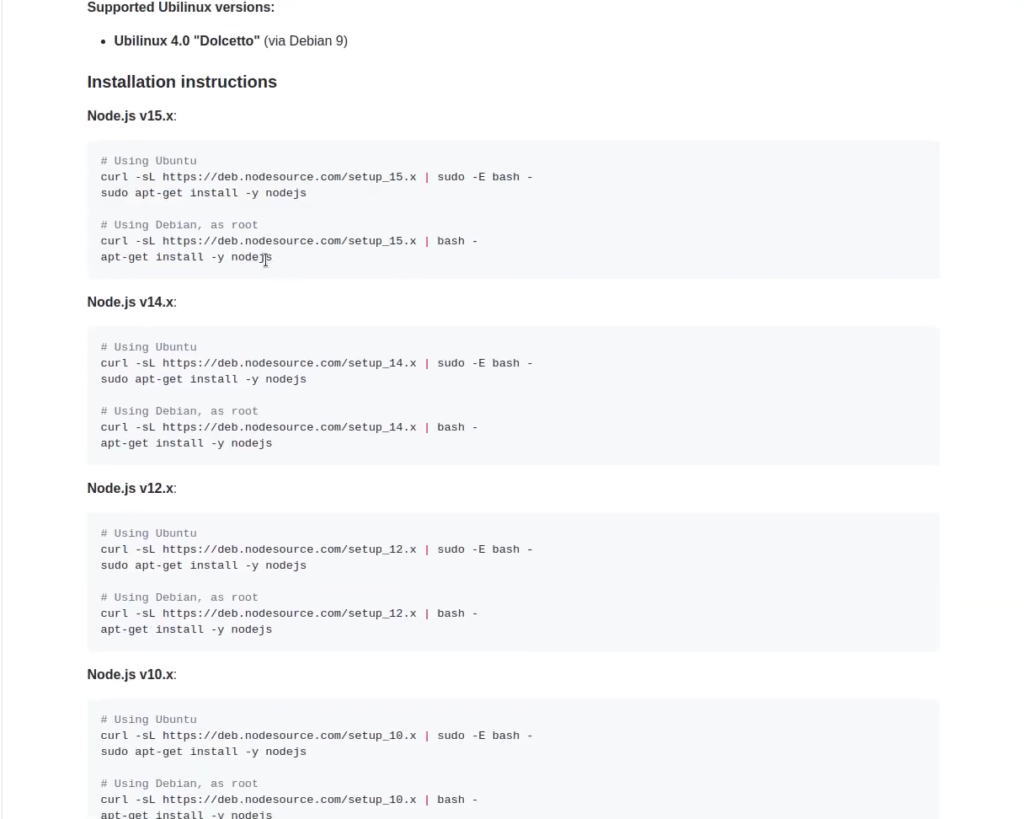
If you find yourself in need of a more up-to-date version of Node.js and npm, leveraging NodeSource becomes an appealing option. NodeSource stands as an enterprise-grade Node.js repository, offering versions that are typically more current than what you’ll find in the default Linux repositories.
To begin, you’ll want to incorporate the NodeSource repository into your system:
For Node.js 14.x, execute the following command:
For Node.js 14.x, run:
curl -sL https://deb.nodesource.com/setup_14.x | sudo -E bash –
Replace 14.x with your desired version.
Install Node.js and npm:
sudo apt-get install -y nodejs
Method 3: Using nvm (Node Version Manager)
For developers who frequently switch between different Node.js versions, nvm proves to be an invaluable tool. This utility empowers you to effortlessly install multiple Node.js versions and seamlessly switch between them as needed.
Begin by installing nvm. You can execute the following commands, depending on your preference of either curl or wget:
Install nvm:
Run the installation script from the nvm GitHub repository:
curl -o- https://raw.githubusercontent.com/nvm-sh/nvm/v0.39.0/install.sh | bash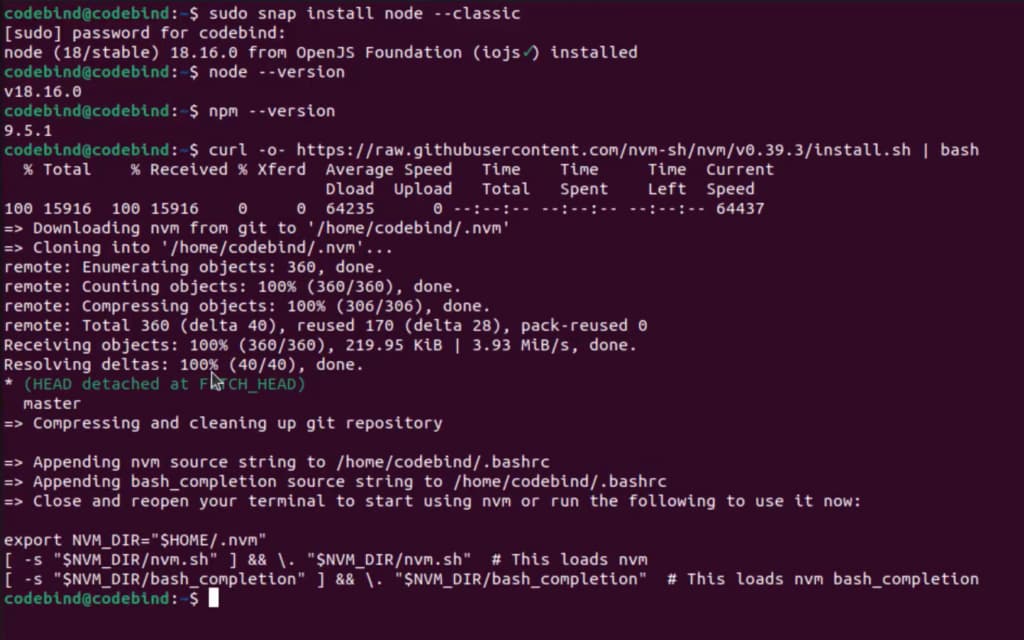
Or, for wget users:
wget -qO- https://raw.githubusercontent.com/nvm-sh/nvm/v0.39.0/install.sh | bashOpen a new terminal and verify nvm is installed:
command -v nvmInstall Node.js (this installs npm as well):
nvm install nodeReplace node with a specific version if needed.
Verifying the Installation
After installation, verify that Node.js and npm are correctly installed by checking their versions:
node -v

npm -v
Configuring npm
With npm installed, it’s beneficial to configure it for your environment. This involves setting up the default directory and configuring npm to handle global installations without needing sudo permissions. This can be done by setting the prefix in your ~/.npmrc file or by changing the ownership of the global npm directories to the current user.
Congratulations! You’ve successfully completed the comprehensive installation of npm on your Linux system. Now that you have npm up and running, you’re well-equipped to embark on your journey in web development, harnessing the power of Node.js and its vast ecosystem of packages.